
With the present economic situation, planing a garden is a good idea. A two-part FHE could begin with the first week discussing what things to grow in a family garden and what responsibilities each family member would have in the "family garden." A great song to sing would be "The Prophet Said to Plant a Garden." Then during the week gather needed supplies. The next week the family could all work together in the garden planting the seeds or plants. Talk about not only growing food for your own family, but think of all the people you can share your garden with (thinking of others, service, sharing, etc).
I went to the stake preparedness workshop on gardening and was really motivated by Verlin Simmons' ideas for growing tomatoes. Here are the instructions for growing tomatoes to be ripe by the 4th of July. Usually, in Cache Valley, tomatoes are barely ripe when it begins to freeze (or it seems that way). Getting ripe tomatoes sooner means more tomatoes longer and more savings.
If you plan on planting early, like Verlin Simmons did, ask a nursery to begin growing your tomato plants in about February or March. For this season you can call around and see who has large sized tomato plants already (about a foot tall).
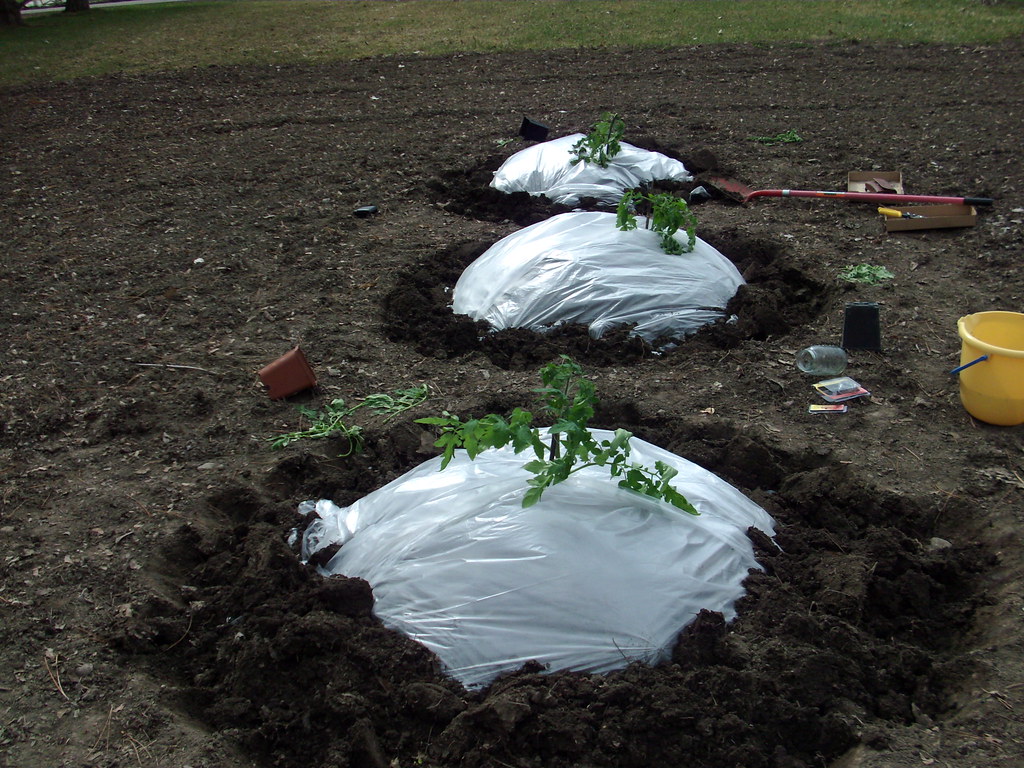
1. Build up tall mounds of dirt for each plant (about 3 feet or more in diameter and about 6 feet apart). Form a well for the plant to be planted in.
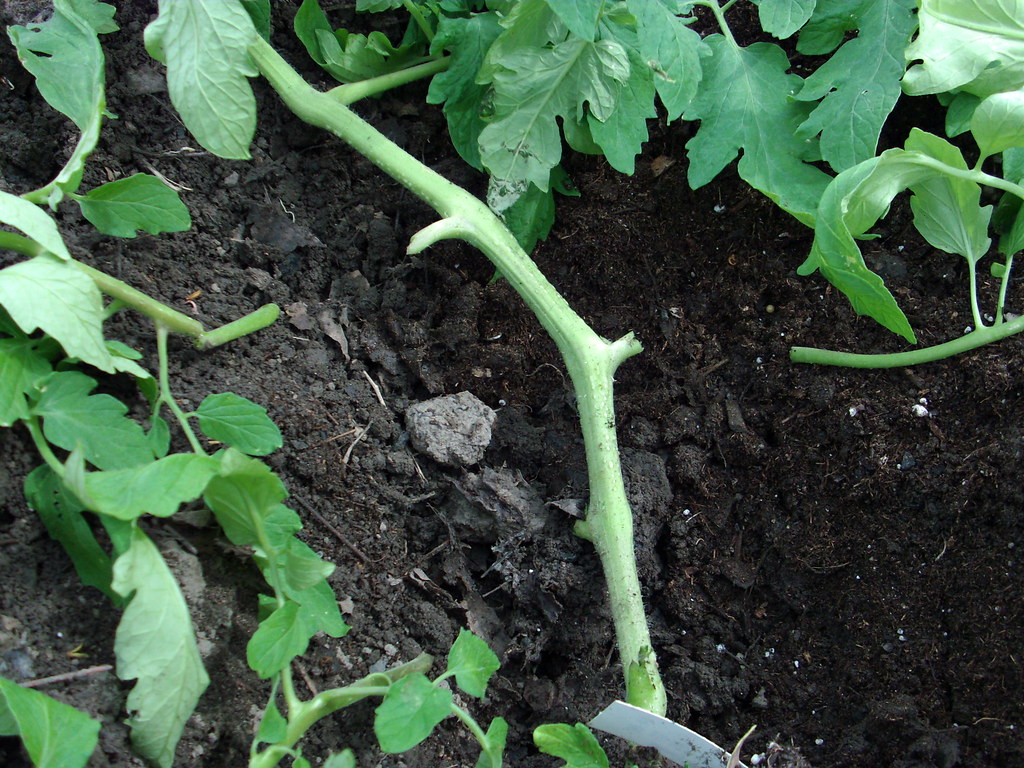
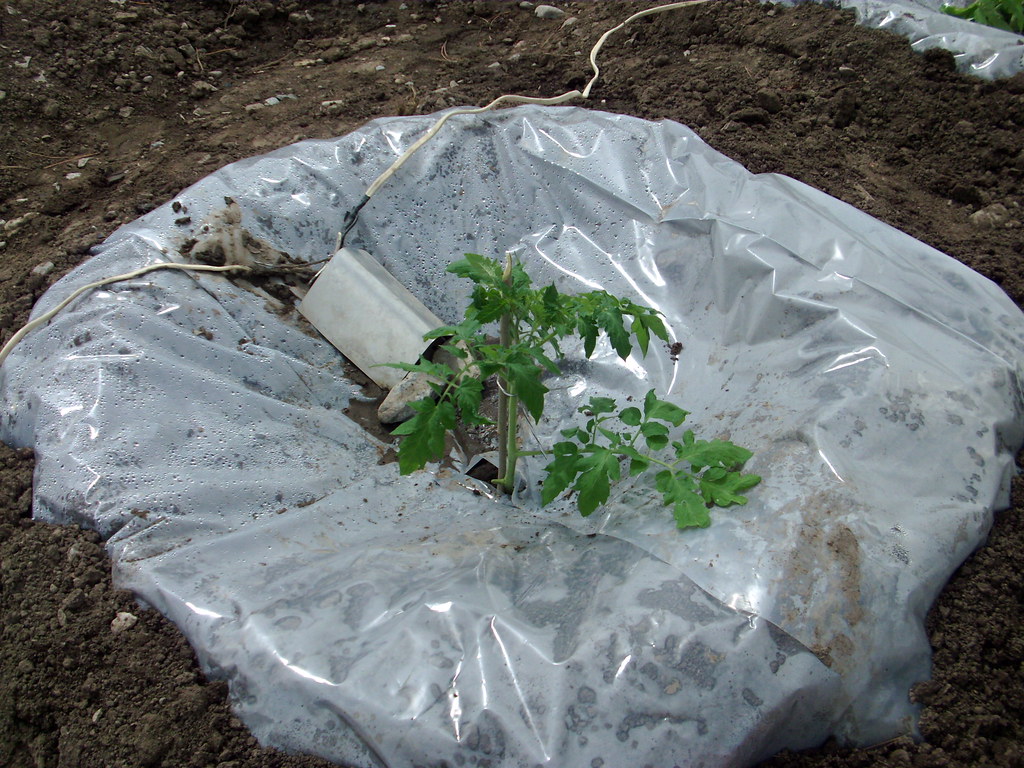
2. Lay plant on it's side in the ground so that half of the plant gets buried along with the roots. Snip off the leaves of the part you will bury. Cover with soil (potting soil or a good mulch). Water with 2 quarts of water. You won't water again until the plastic comes off the cages in June. Secure the plant to a stick so that it stands up.
3. Put clear plastic over the plants (slit a hole for plant to come out of). Shovel dirt over the ends of the plastic so that it does not blow away.
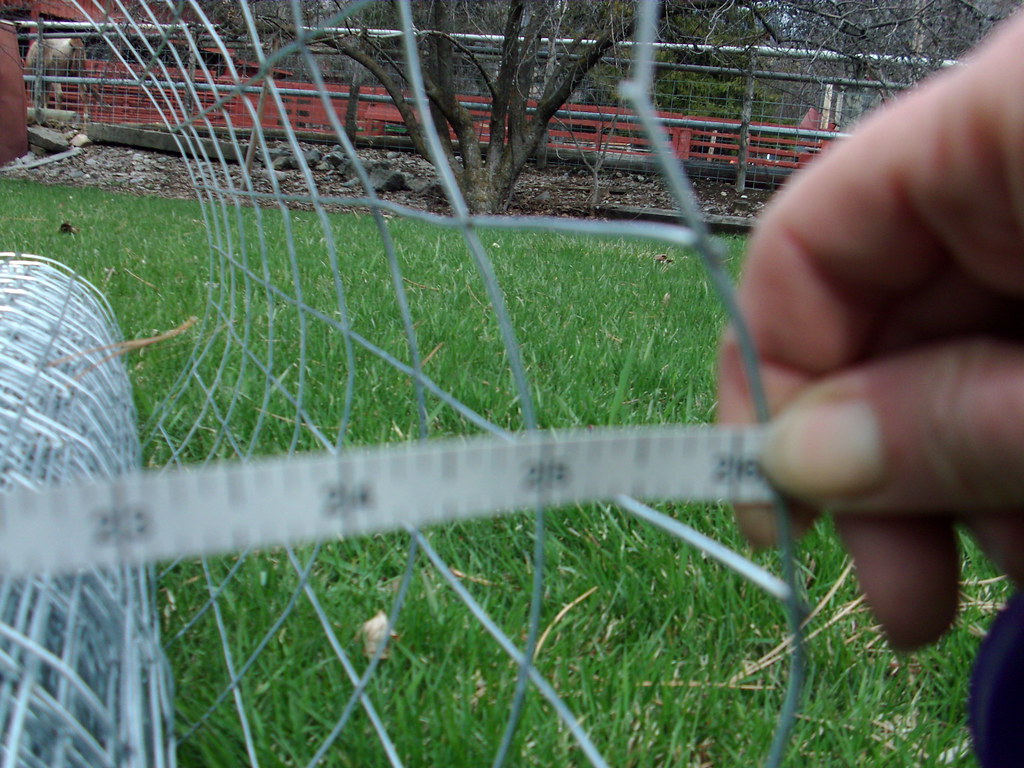
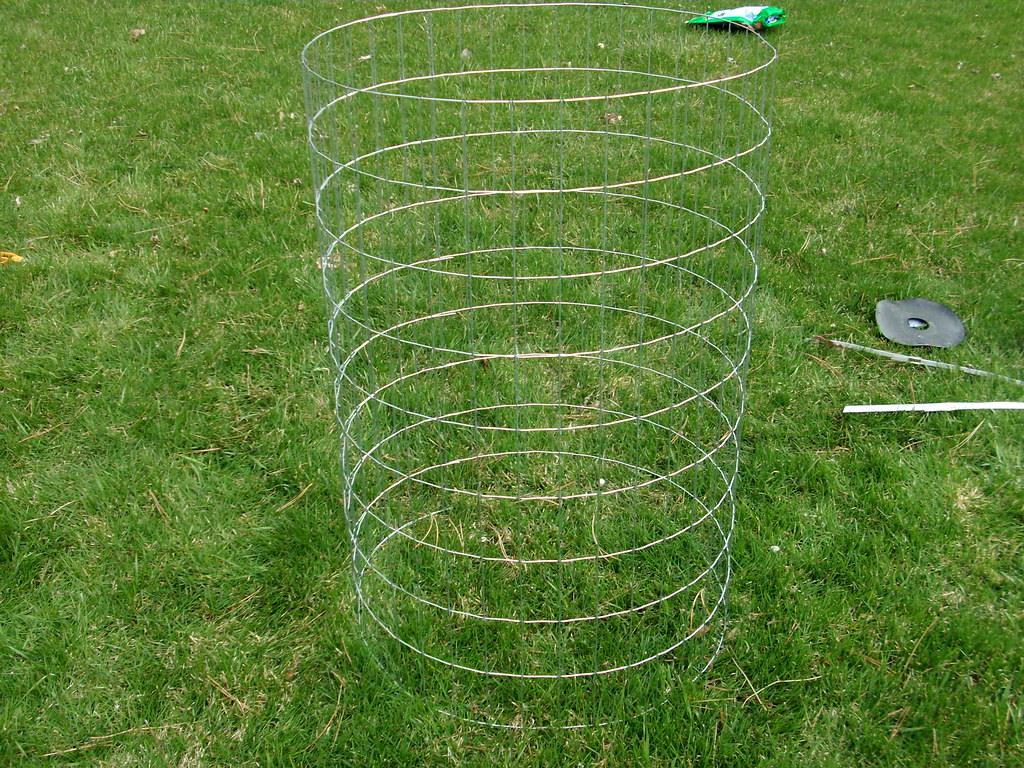
4. Build a wire cage about 4 or 5 feet high (I only built mine 3 feet high because that was the size the fencing came in that I bought). Roll out the fencing and cut with wire cutters. Wire together so it is 26 inches in diameter (that's how wide Verlin Simnmons' are). The wire squares on my cages are too close together so I'll need to use wire cutters to get the tomatoes out.
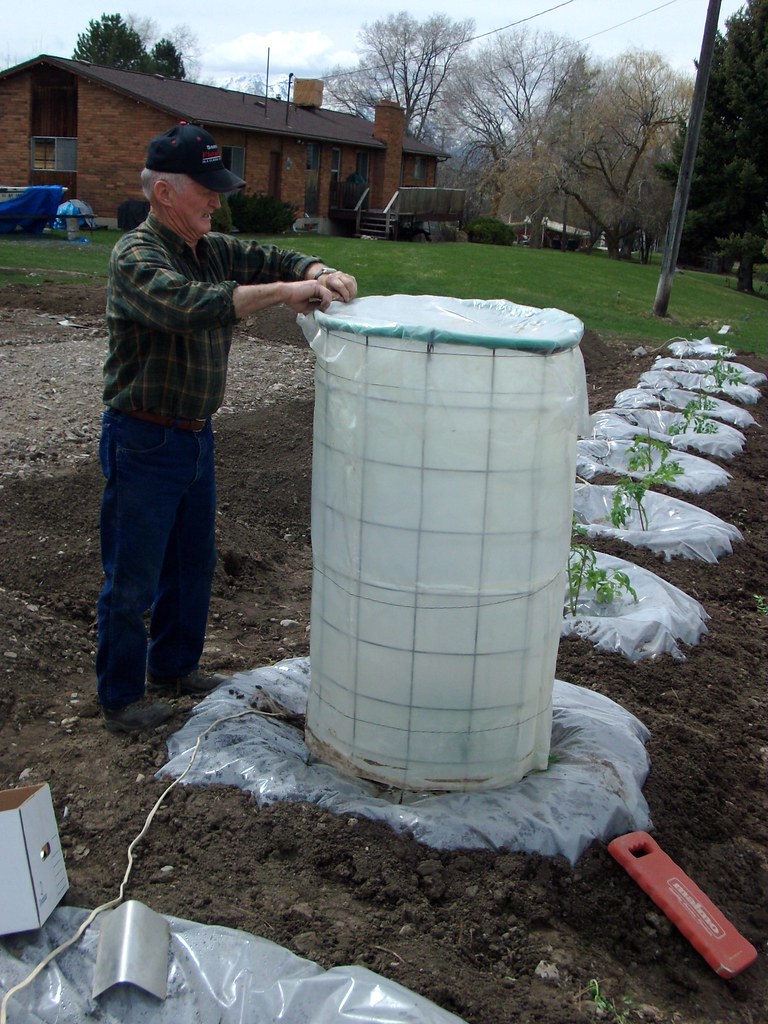
5. Place clear plastic around the cages and top of cage.
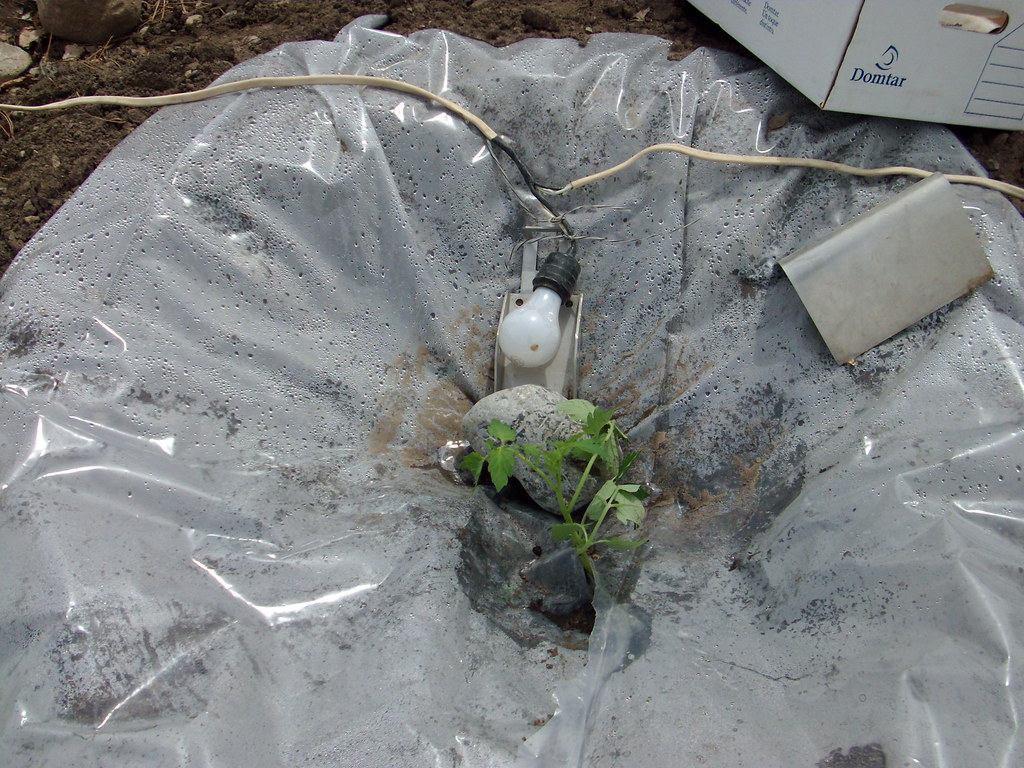
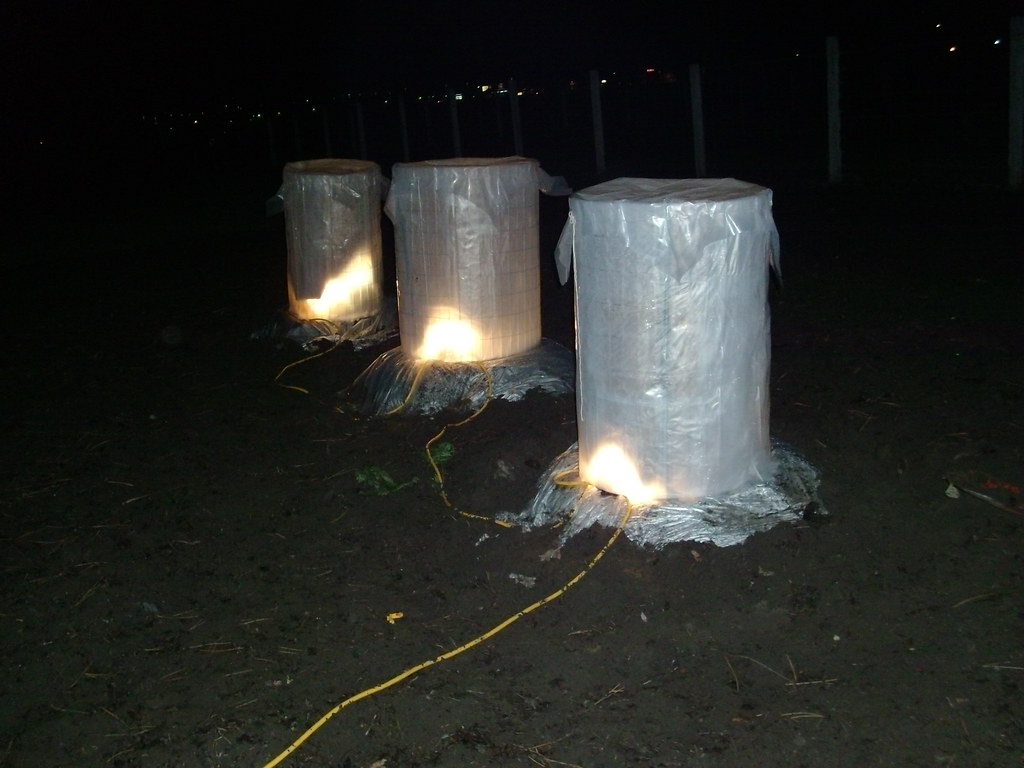
6. String a set of light bulbs with an extension cord reaching from an outlet outside your home to the garden so that there is one light bulb per plant. People who know what they are doing can build this on their own. I purchased a set from Home Depot. Verlin uses 100 watt light bulbs. This part is not really necessary. The lights add warmth, but you can also place blankets over the cages when it gets really cold at night instead of using light bulbs.
7. Place a tent shape piece of metal over each light bulb so that moisture does not get on the light bulb. The bulbs burst if they get water on them. I've already had one burst because the metal tent tilted off the bulb. Also place a piece of metal under each bulb so it doesn't touch the ground.
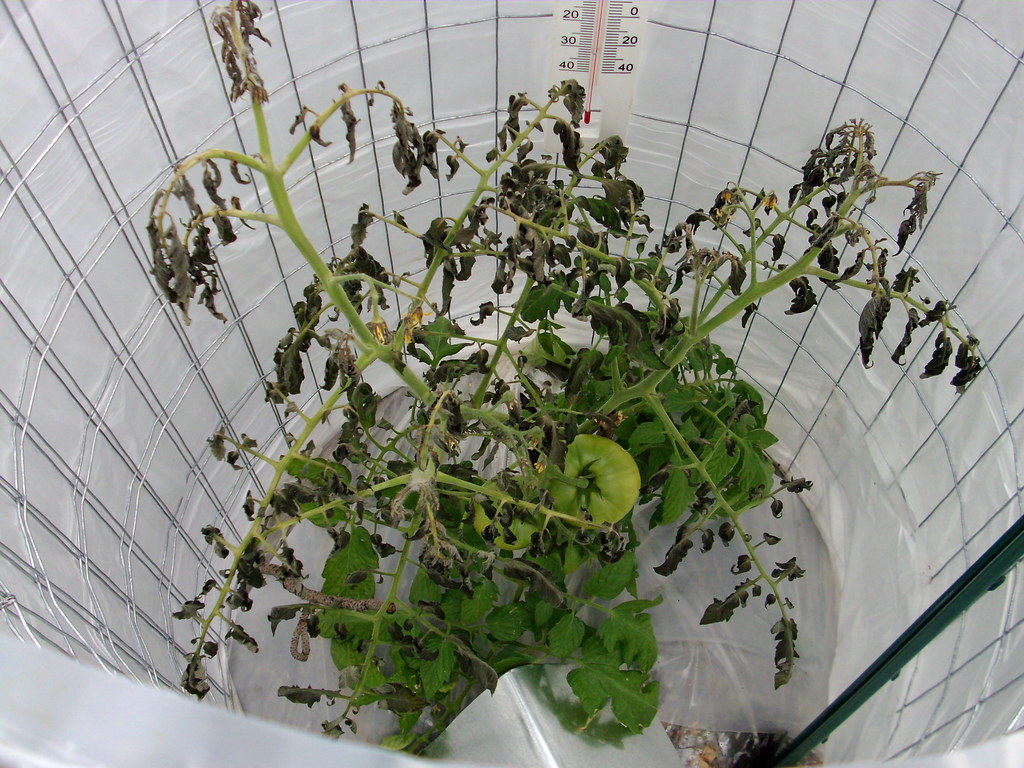
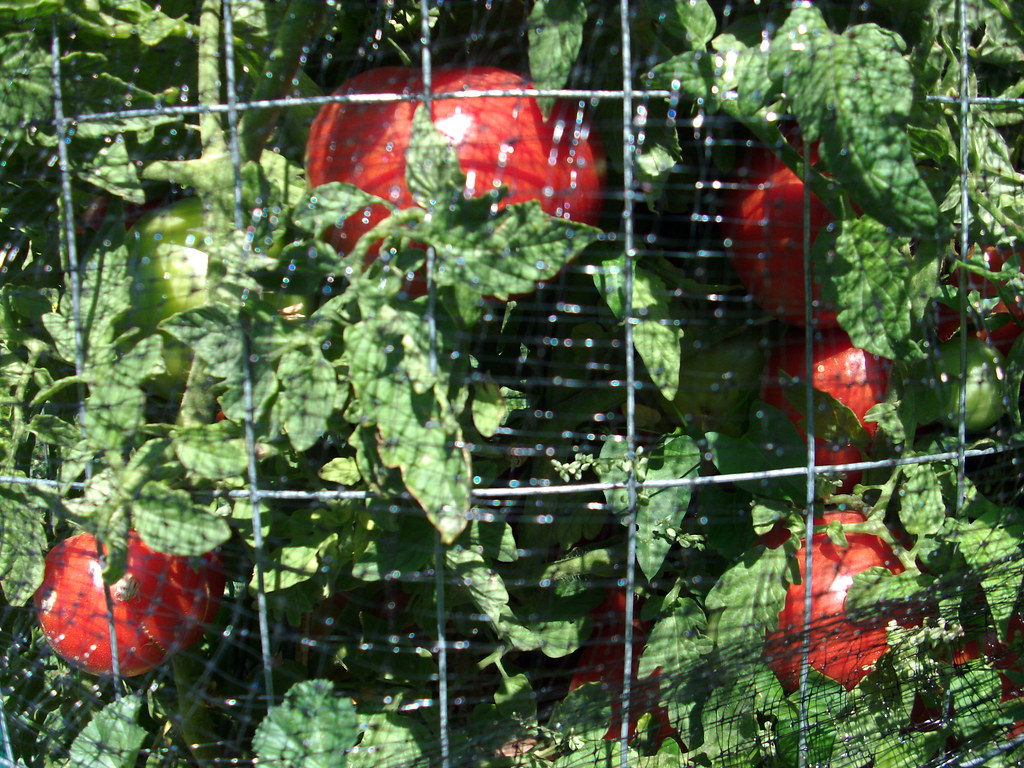
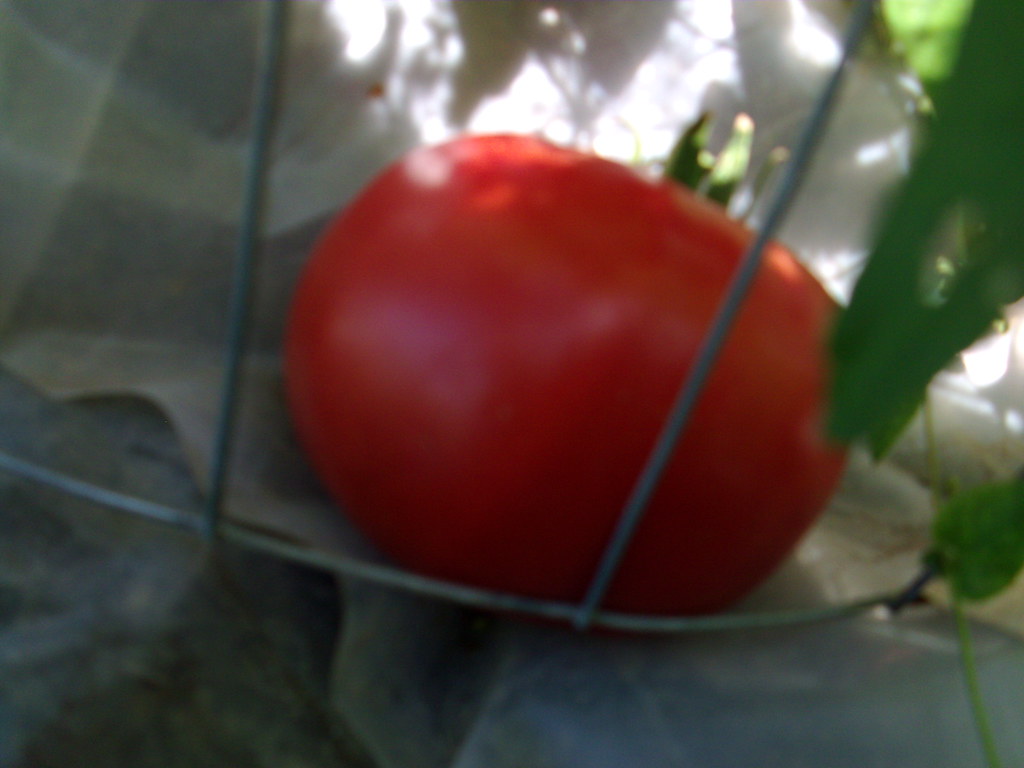
8. Place cages with plastic over each tomato plant. You can peek through to see how they are doing. Here is a view from the top looking inside. These cages will stay on them all season, and the plastic will stay on until June.
9. Attach an outdoor thermometer to the inside of each cage so you can monitor the temperature. Don't let it go over about 110 degrees. Take the plastic top off when the sun is up, and put the cover back on during the night and when it is cold outside.
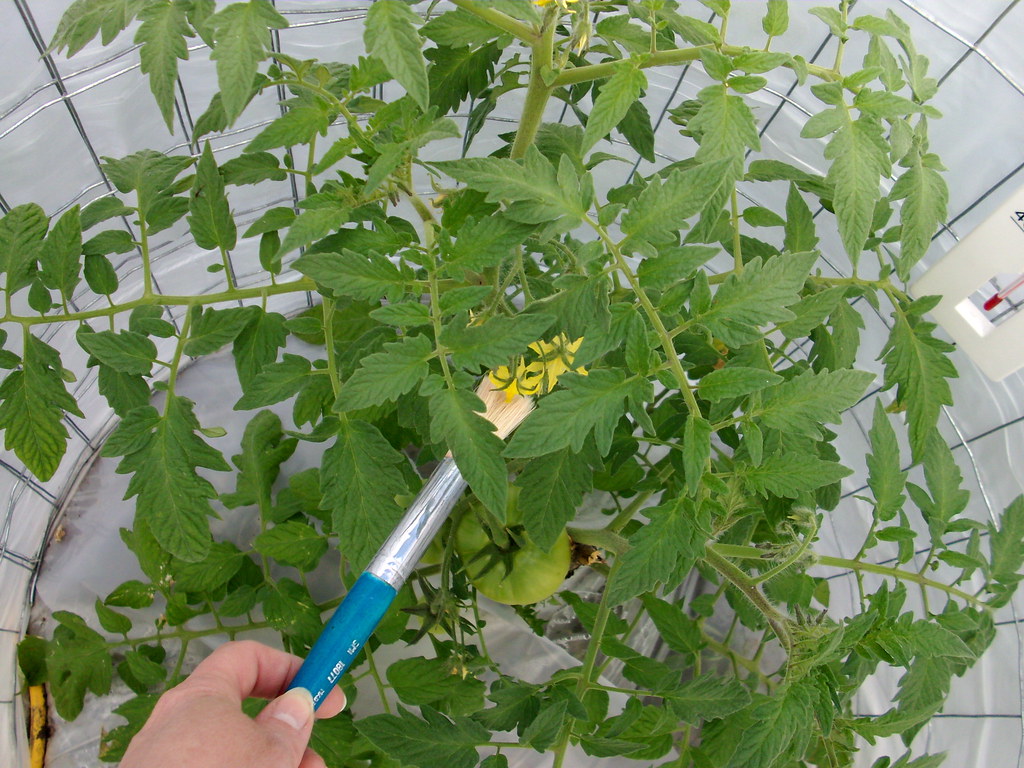
10. You will need to help pollinate the blossoms. Verlin uses a long paint brush. He tickles each blossom with the long handled paintbrush. He also helps the plants grow tall by tying the branches to the sides of the cage as they grow. Otherwise, the limbs bend down to the ground and the tomatoes will rot on the ground. He is able to pick the tomatoes from the square holes of the cages.
Hopefully we'll have tomatoes on July 4th.
Update as of June 5th 2009:
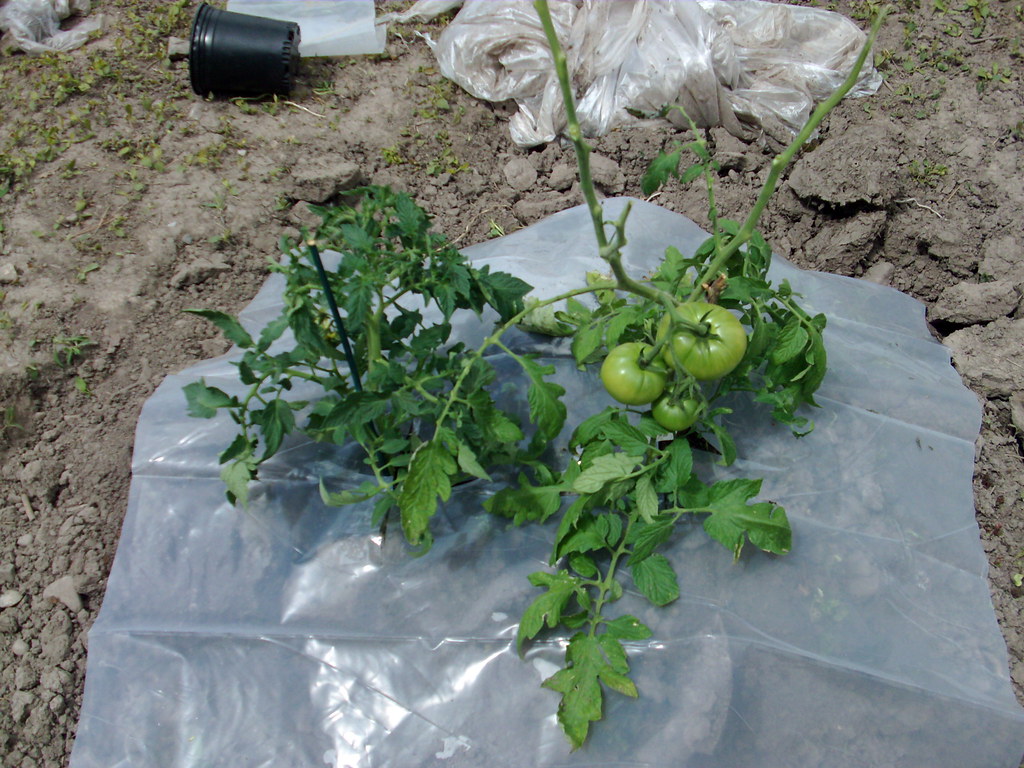
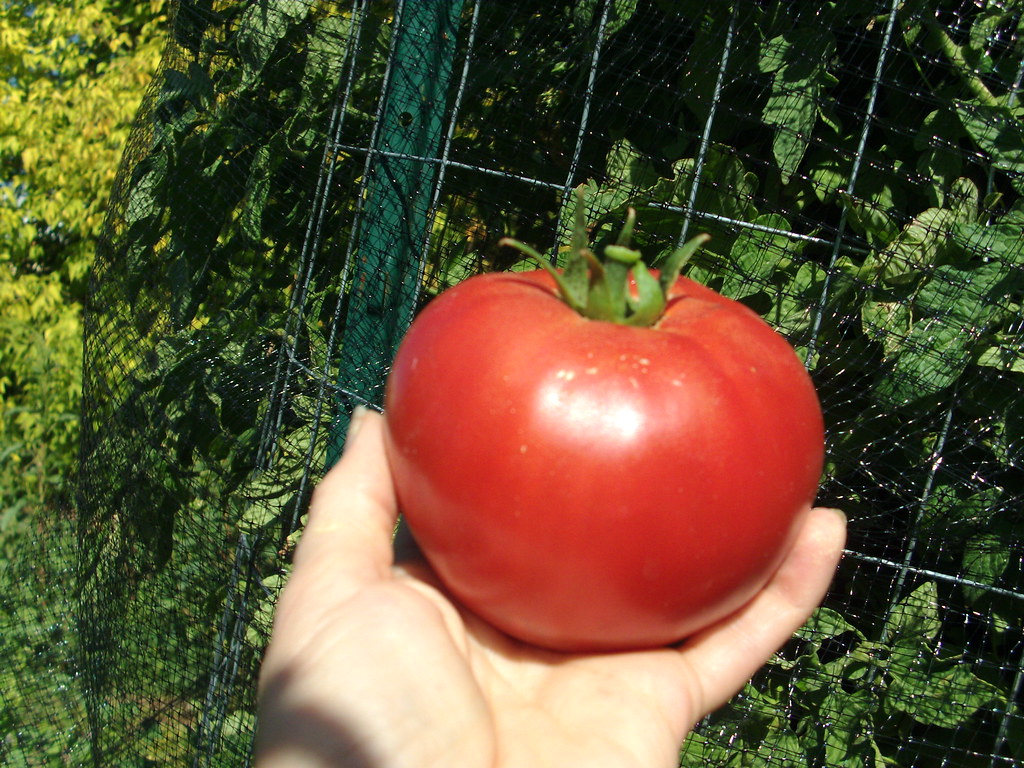
On May 12, I forgot to turn on the lights, and it just so happened that temperatures dropped to freezing that night. The top three quarters of each of my tomato plants froze. So I cut off the dead parts and continued to let them grow. Just in case, though, I planted a new plant next to each frozen one. The plants continued to grow. As of today (June 5th) we have our first officially ripe tomato! It came from one of the plants that froze. Two more tomatoes are close to ripe and will be picked in a few days. There are 14 total tomatoes (all but two are from the original tomato plants that froze). The new ones are catching up, though.
Update as of August 22, 2009:
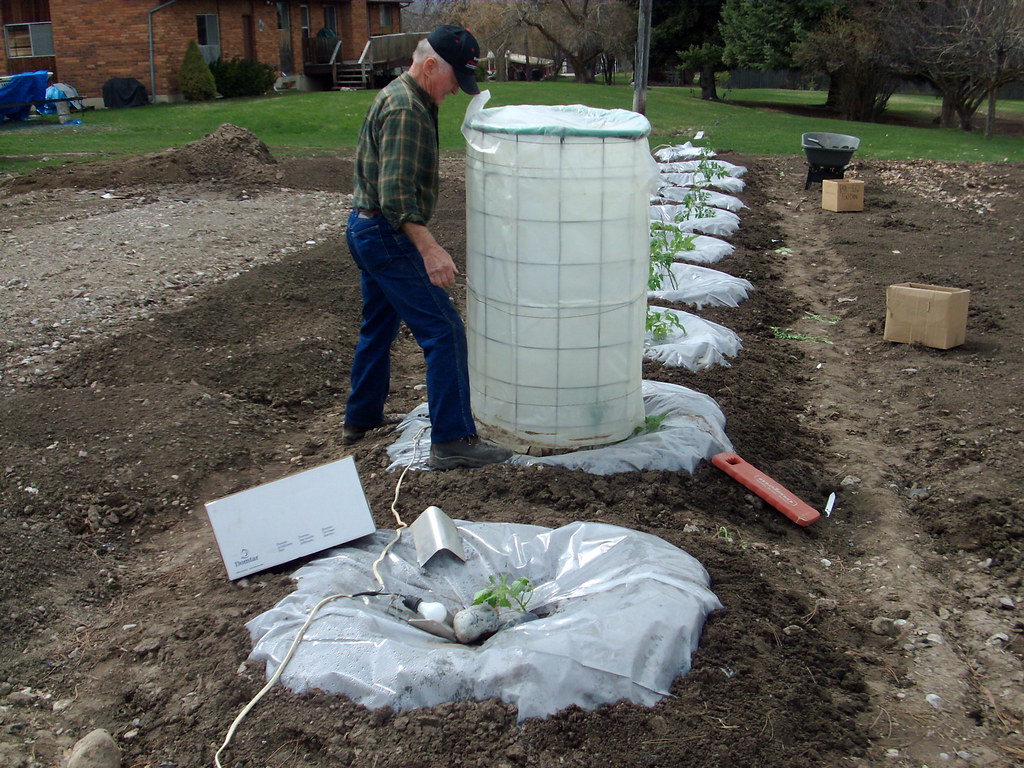
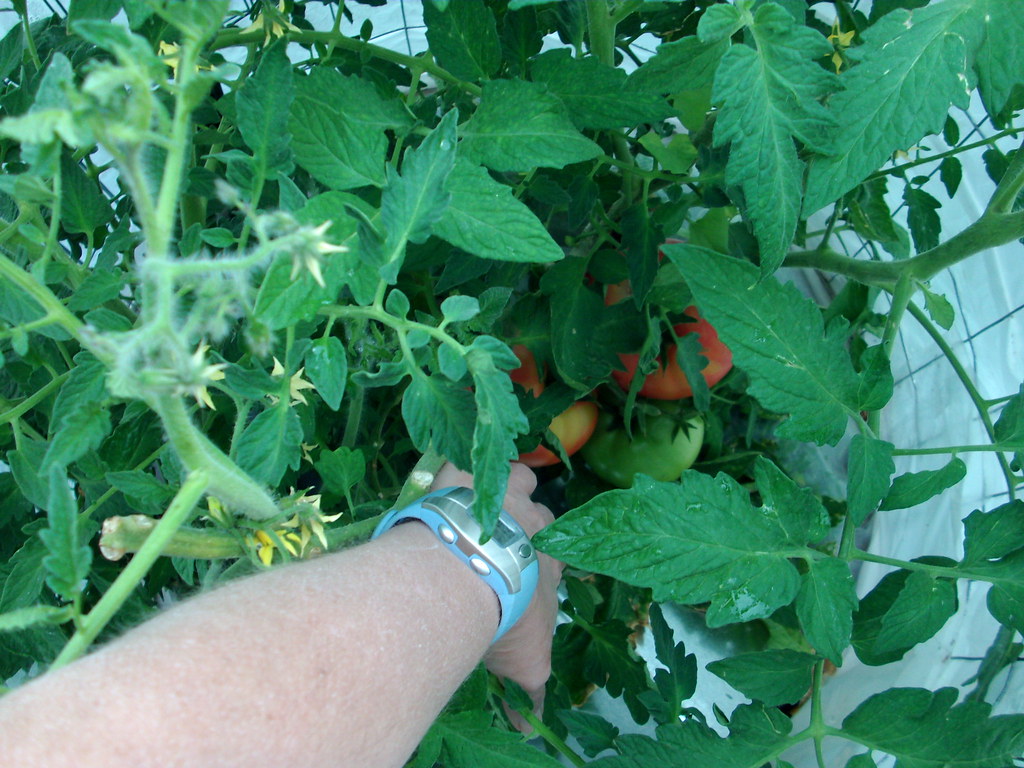
The tomato plants planted on April 11 are now as tall as me (that's me trying to take the picture of myself and the tomato plants, so I only got the tops). On August 15, I picked 73 tomatoes from the 6 plants I planted. There were 29 tomatoes from the first bush, 31 tomatoes from the second bush, and 13 tomatoes from the third bush.
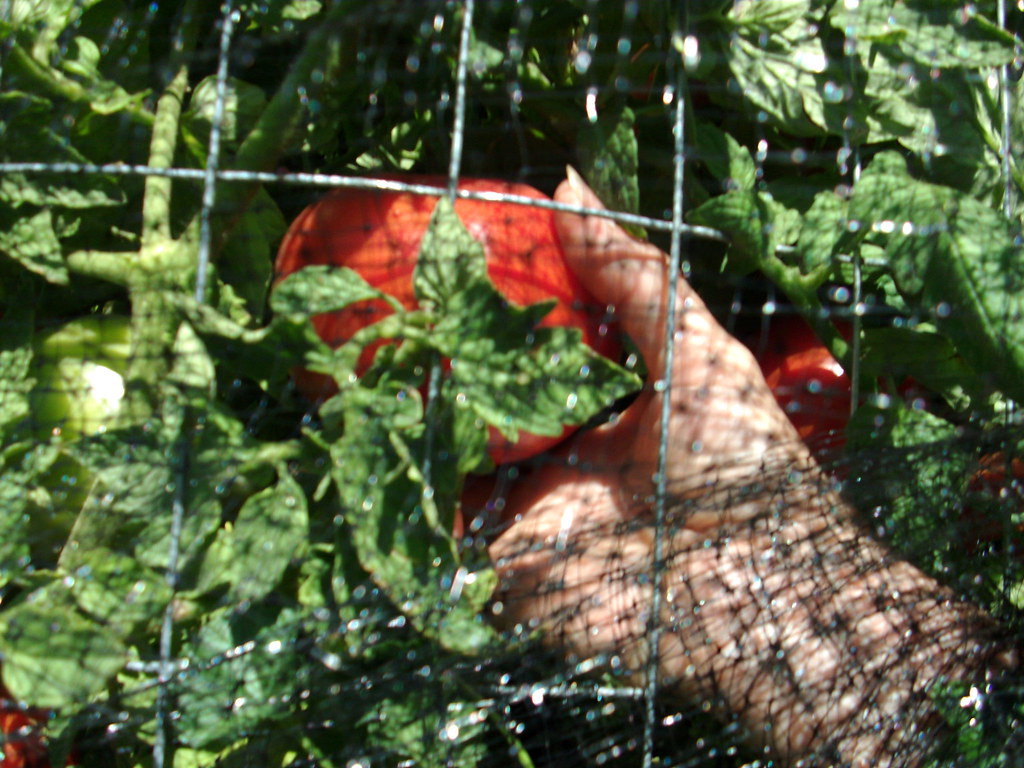
I wish I had built the cages with heavier wire and larger holes. My cages have wire holes that are too small to get the tomatoes out. I can reach in and grab a tomato, but I cannot get it out. So I pick the tomato I want, and then let it drop to the ground. Then I get it out by lifting up the bottom of the cage, much like getting a candy bar out of a vending machine.
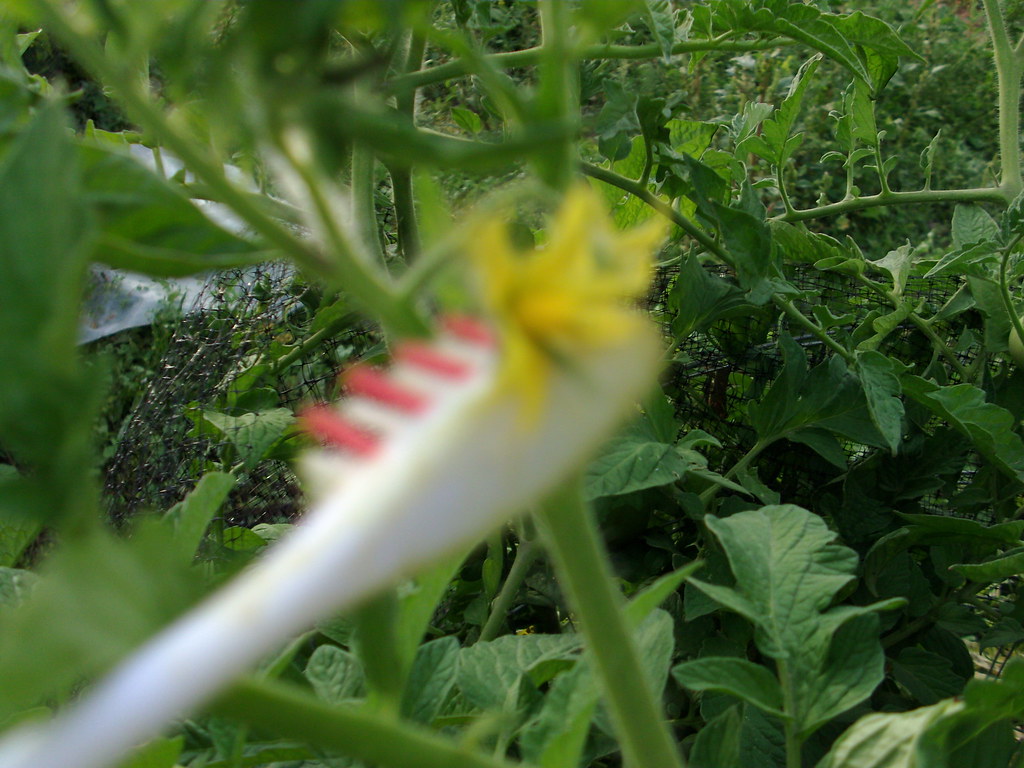
To pollinate the blossoms, I began using an electric toothbrush (purchased at a dollar store). I put the back of the toothbrush against the back of the blossom to simulate a bee's vibration. It is the vibration that pollinates tomato plants; not the bee getting pollen from one blossom to another.
Update as of October 22, 2009:
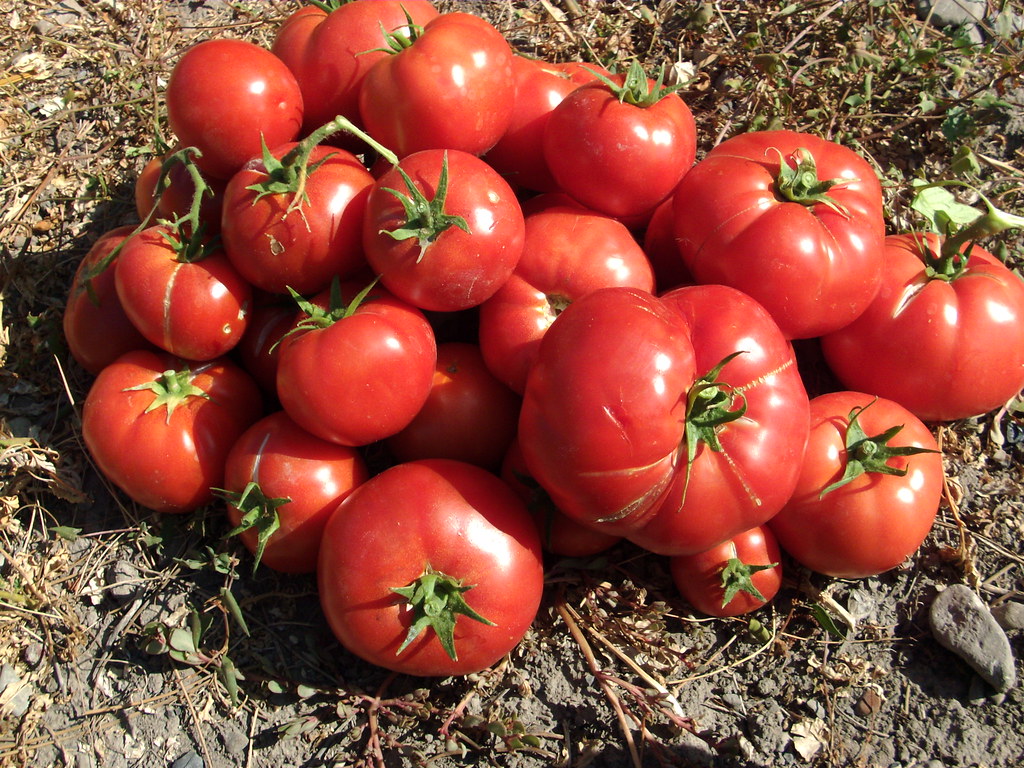
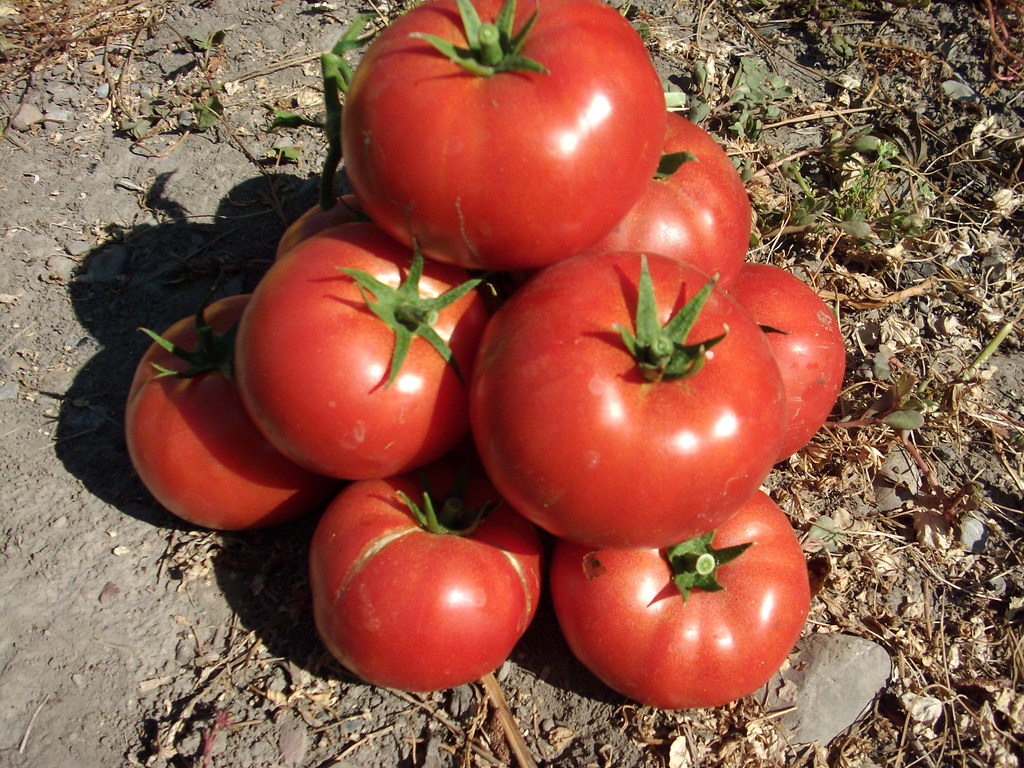
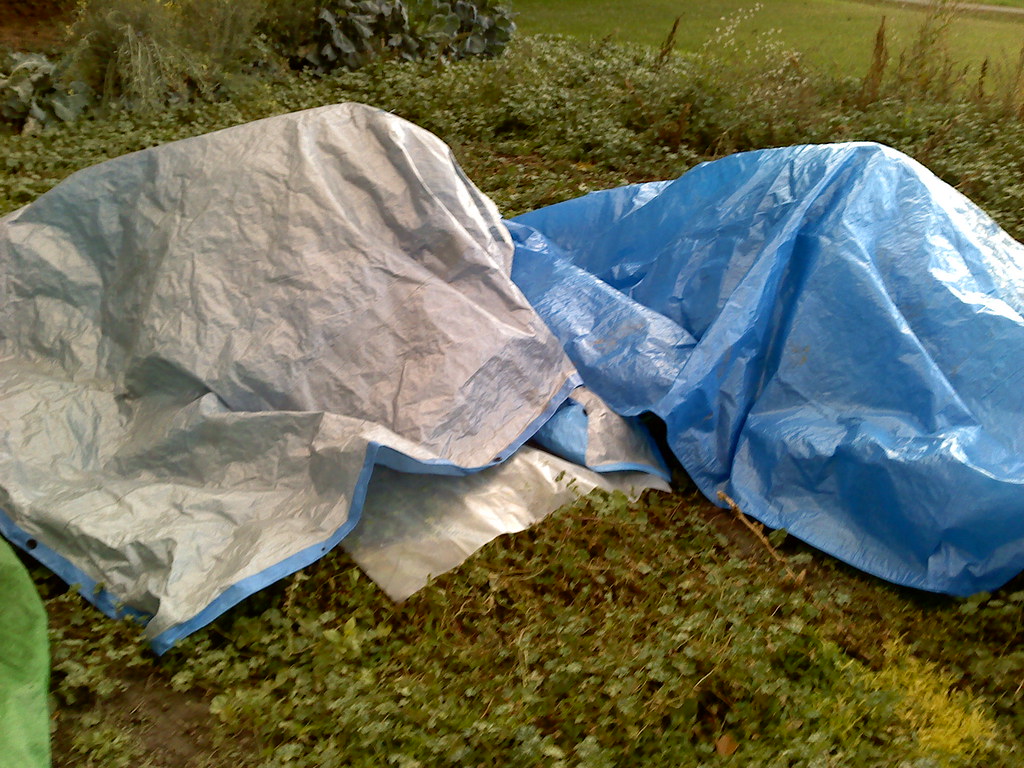
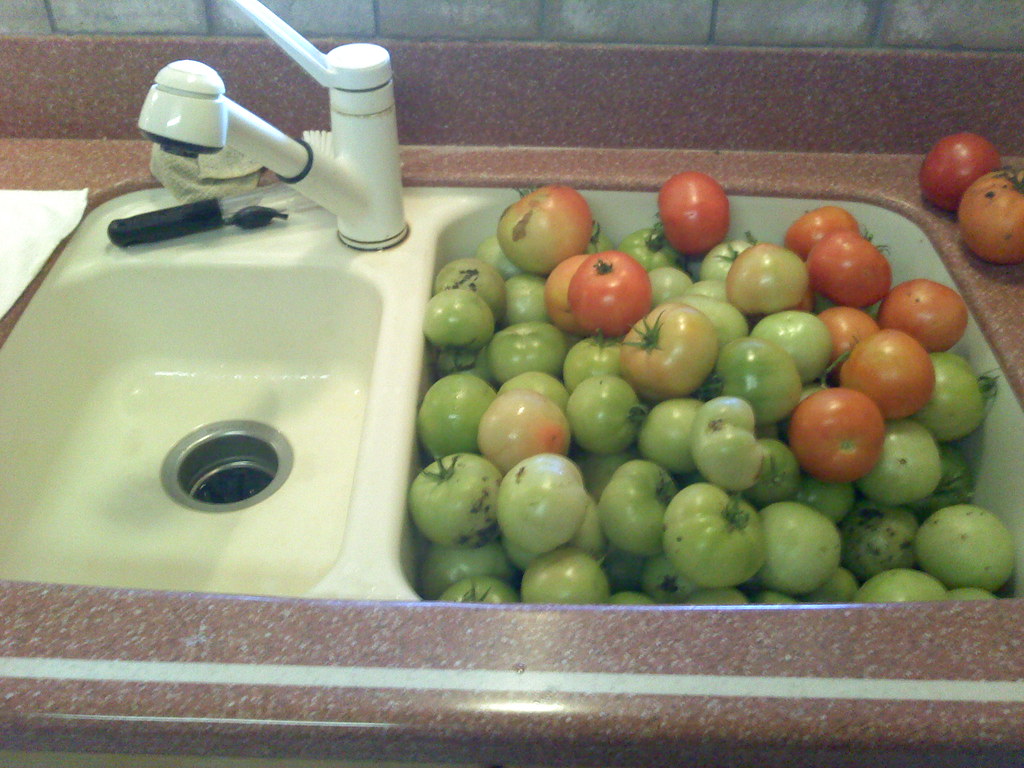
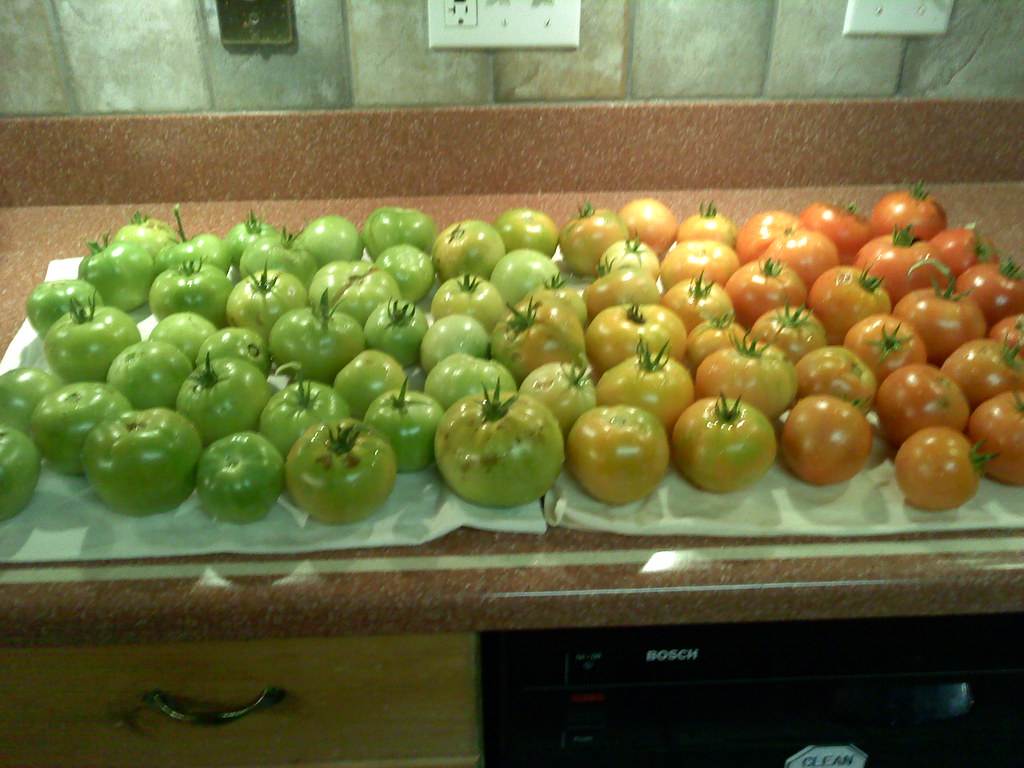
For a week or so I put blankets and a tarp over each tomato plant on the nights the forecast was for close to freezing. Then October 22 I picked all the tomatoes: red and green and in-between, and took down the cages and pulled up the plastic so the ground can be tilled and prepared for Spring. I arranged the tomatoes in order of ripeness after washing them. Then I wrapped each one in a paper towel, with the greenest ones on the bottom and the ripest on top.

Very nice write-up. Thanks!
ReplyDeleteThanks for all of your great info! This was a very informative blog post and I appreciate you coming up with such detailed steps for growing tomatoes. Quick question for anyone who might know: Have you ever tried growing tomatoes upside down? I've seen the commercials and I am intrigued. Please let me know what you think of that method if you have given it a try! :)
ReplyDeleteI've not given it a try, but here is a link that tells how to do it.
ReplyDeletehttp://www.ehow.com/how_2046663_plant-hanging-tomato-plants.html
It's a great idea that is becoming popular for those with little space. Has anyone out there tried it, and can give pointers?
Here is a video link for growing tomatoes upside down.
ReplyDeletehttp://www.howcast.com/videos/9027-How-To-Grow-Tomatoes-Upside-Down
Here is a link to comments from people who tried planting tomatoes upside down as demonstrated on the video above. Some comments are favorable while others are not. There are some helpful suggestions for making it work.
ReplyDeletehttp://www.amazon.com/Felknor-Ventures-82506-Upside-Down-Planter/product-reviews/B0001WYNP0/ref=dp_top_cm_cr_acr_txt?ie=UTF8&showViewpoints=1